With the rapid demand for video calls, webinars and live presentations, we’ve all had to become amateur videographers overnight. So, how can we make the most of our resources at this critical time?
Expert Video Producer and Managing Director of Studio 91 Media, Ben Horrigan, has kindly penned this article to share his top tips on getting the most professional results from videos filmed on your mobile – taking you gently through the process from planning to publishing!
So, without further ado, we’ll hand over to Ben…
Why are you talking to your camera?
There are all sorts of reasons why you might want to film yourself talking to a camera. You could be delivering some online training, or you might need to get an urgent message out to your audience. Maybe you want to use video to keep your LinkedIn followers informed or entertained. Whatever the reason, this guide will take you through everything you need to know to get it looking and sounding as professional as possible.
Of course, for the best results, you’ll need the services of a videographer or video production company, but often budgets and timescales mean that filming yourself is the best solution. Please do drop me a line via the Studio 91 Media website if that’s something you’d like to chat about. This is especially true for everyday social media content, where consistency is key and quantity is almost as important as quality.
However, if you’re itching to start filming and just want some quick and dirty tips, head straight to the TL;DR section below. Beyond that, I’ll be looking at some of the prep you should do before your shoot, as well as explaining in detail how best to film and edit your piece.
This guide will focus on what you can do with a smartphone, but keep reading if you want to film yourself with a DSLR or other camera. Most, if not all of the advice, will still absolutely be relevant.
TL;DR – Top Tips for Filming Yourself With a Phone
To get you started, here are my top tips for filming yourself with a phone:
- Face a light source like a window, either directly or at a slight angle
- Eliminate or minimise all background noise
- Think about whether you should be filming in landscape or portrait mode (if in doubt, go landscape)
- The camera should be at head height – at least chest height
- Don’t start filming until you’re absolutely happy with how the shot looks
What you need to think about first?
Before you get stuck in with your filming, ask yourself these three questions to check whether you’re heading in the right direction:
- Who is this video for?
- What message do I want to get across?
- How does this fit into my overall content marketing strategy?
Once you know the answers to those questions, you’ll have a much better idea of the purpose of the video, and what you actually need to say.
Consider writing a basic outline of a script, but don’t write it word-for-word. It’s best if you know roughly what you’re going to say but deliver those points in a natural, conversational way. Authenticity is absolutely critical if people are going to buy into your self-shot video content.
Now, on to the nitty-gritty…
How to make your video look and sound good
Camera app
There are dedicated apps available for mobile video that give you much better manual control of the camera than you’ll get with your native camera app. I’ve been using Filmic Pro for 4 years and would definitely recommend it. I’ve shot mobile footage using Filmic Pro that I’ve edited into documentaries for the BBC News Channel – and nobody even noticed.
That said, you can still get great results with your native camera app. I strongly recommend that you lock the focus and exposure, assuming it’s a static shot. This will stop the camera from ‘hunting’, where the image comes in and out of focus.
The method for this will vary depending on your device, but on iOS devices you simply long-press on the subject (e.g. your face) until a bit of text comes up saying “AE/AF Lock”. Make sure you’re happy with your positioning before you do this; if the distance between you and the camera changes then you’ll need to refocus.
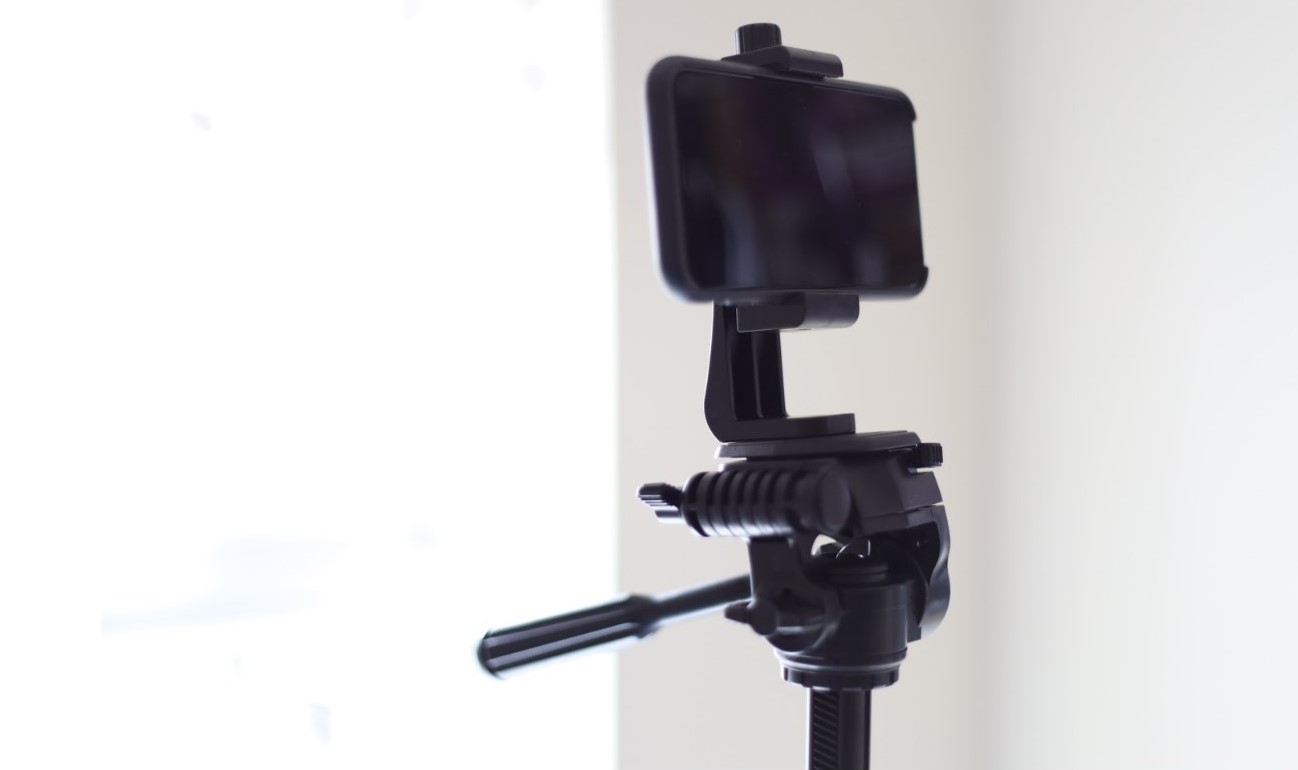
Tripod
You don’t need to buy tonnes of accessories. People often make the mistake of buying lots of expensive kit but getting the basic principles wrong. The only thing that is essential is some means of keeping your phone steady, and roughly at eye level. There are three main solutions to this:
The simplest thing to do, if you don’t mind spending a modest amount of money, is to buy a lightweight tripod and a smartphone holder.
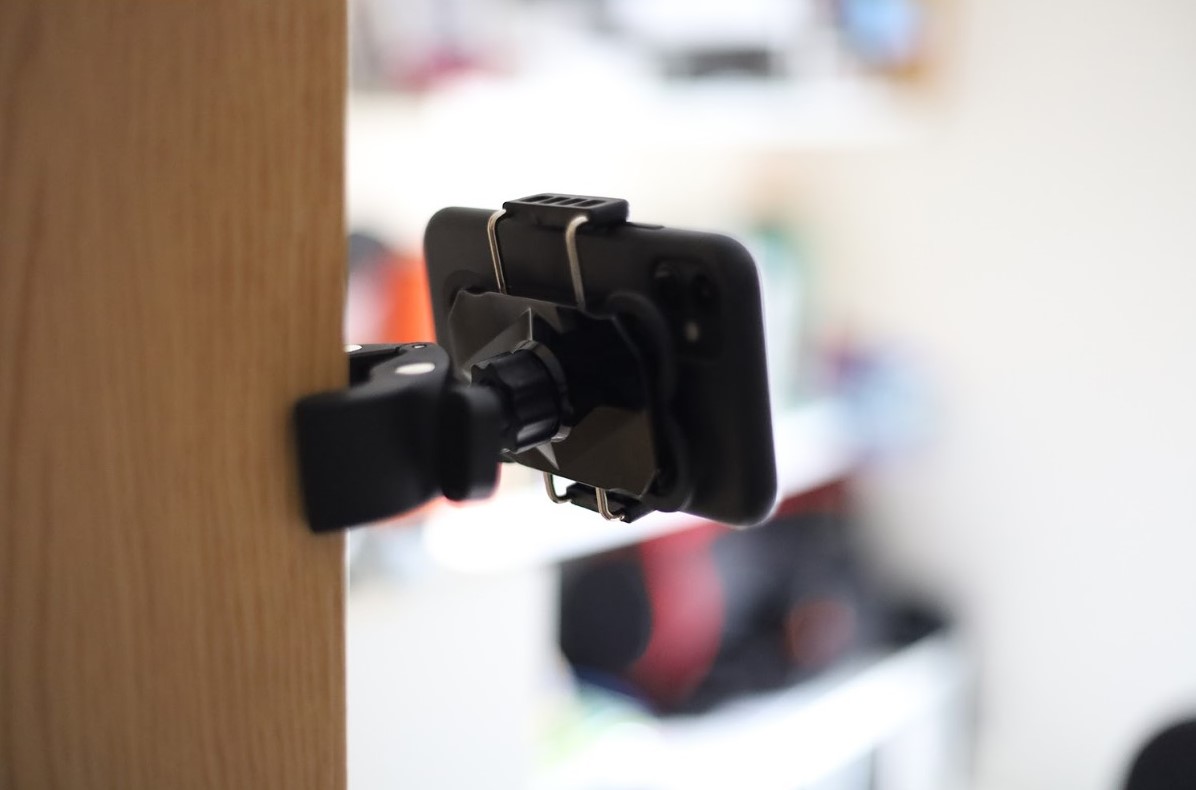
You could also get a phone holder with a clamp and attach it to something like a door, a lampstand or a computer monitor. This clamp is designed for bikes but will do the job just fine.
If you need to move the camera around while you’re filming, consider buying a gimbal like the DJI Osmo Mobile, which will automatically smooth out every movement you make.
Lighting
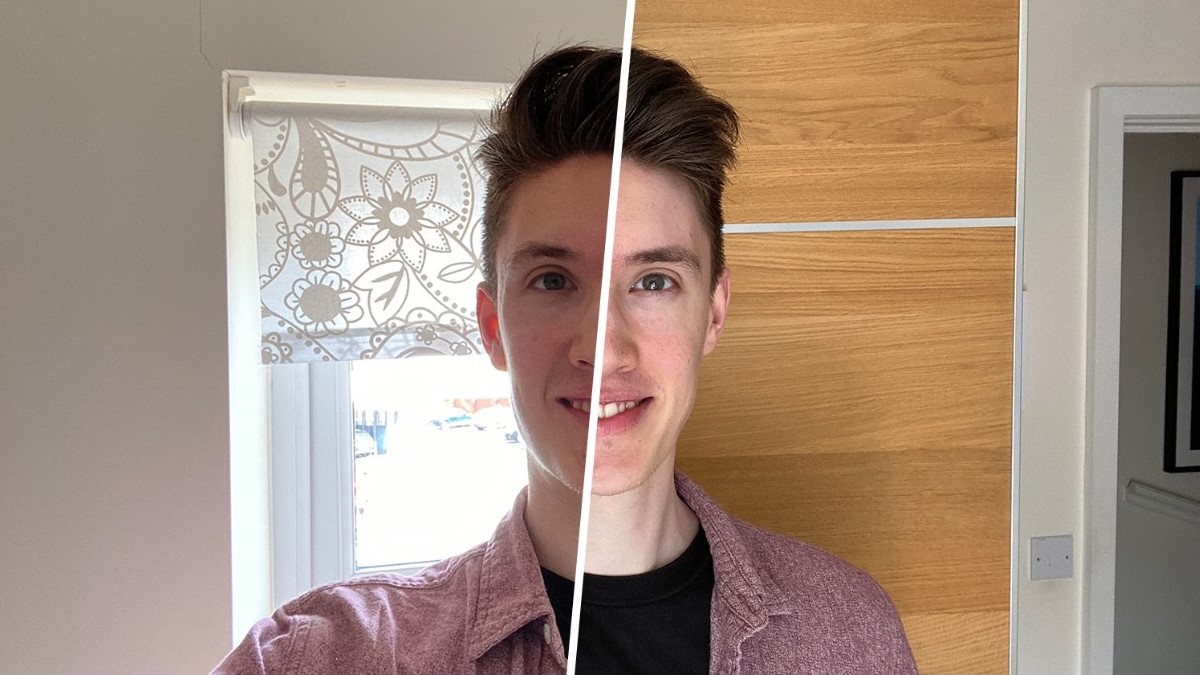
When I say lighting, I’m not talking about the kind of setup you see on a movie set. The best possible source of light for filming yourself is the sun: it’s powerful, it’s reliable, and it’s free.
Don’t film outside if you can help it, as you’re likely to run into audio problems, but get yourself near a window. Do your filming in good daylight, either directly facing a window or at an angle. If the sun is particularly bright, you might need to soften the light with blinds or a bedsheet.
Compare these two shots, which have exactly the same conditions except that I’ve pointed the camera in the opposite direction:
Sound
You might want to consider buying a clip mic that plugs into your phone, like the Rode smartLav. Whether you’re using an external mic or your phone, here are a few things to be aware of:
- Listen closely for any background noise, and try to reduce it if you can
- Reduce echo by using a room with a carpet and/or soft furnishings in it
- The mic needs to be close to you. Try to keep the phone within a metre of your face, OR use an external mic as mentioned above
Framing/composition
The ideal framing for a self-shot piece to camera is from your chest to just above your head. Try to make sure the camera is roughly at eye level. Too low, and viewers will see too much of your chin and nostrils. Too high, and you’ll look like an Instagram influencer (if that’s the look you’re after, then fair play to you).
For illustrative purposes, here’s what my chin and nostrils look like when the phone is at chest height vs at eye level:

Think about the background of your shot, as well. What do you have at your disposal that will look good and complement your brand? This will probably involve rearranging furniture, plants and wall art. This takes time but is well worth it, especially if you want to self-shoot several pieces of video content.
Remember you’ll need to be facing a window, so there might be a spot in your house that looks pretty but where things aren’t in the right position relative to your light source.
Landscape vs Portrait
I often get asked whether landscape or portrait is best. If you’re specifically aiming for a vertical-first platform like Instagram Stories or TikTok, then go with portrait. If you’re in any doubt, though, go with landscape.
Please, please, please, NEVER film in square. You can easily crop to square later on for platforms like the Instagram Feed, but if you film in square using your camera app then there’s no way to get the rest of your frame back.
How to edit your video
Apps
There are loads of apps and software packages available for editing video, which I’ve explored in detail in my guide to creating video content for social media.
For the purposes of filming yourself using your phone, the main one I would recommend is Adobe Spark Video. The mobile app is currently only on iOS, but there’s an online desktop version too.
It requires you to break your video up into chunks of no more than 30 seconds, which seems like a drawback but is actually a really good way of creating structure and keeping the pace going. You can add text, stock images and branded themes to these snippets of video, allowing you to create high-quality social content in minutes.
Adobe Spark comes bundled with Creative Cloud or it’s £10/month on its own. There’s also a free version, which has most of the same features and adds an Adobe Spark logo in the corner.
Software
If you’d rather download a more serious piece of software, you can get Premiere Pro or Premiere Rush on a subscription basis, or (if you have a Mac) then Final Cut Pro X is great for a one-off fee. Be aware that these powerful tools come with a relatively steep learning curve, and will take a bit of practice to get your head around.
Subtitles
If you’re creating content for social media, rule number one is that it must work without sound, therefore if you’re filming yourself talking then you’ll want to add subtitles. What people often don’t realise is that there are two types.
Open Captions, or ‘burnt-on subtitles’ are graphics that are layered onto the video. They are part of the video file, and can’t be hidden.
Closed Captions only appear when the user turns them on or watches the video without sound; these are contained in a separate file that is attached to the video.
My recommendation would be Closed Captions in most cases, but be aware that they’re not currently supported on Instagram or Twitter.
How can I add subtitles?
For Open Captions, a good solution is the MixCaptions app, which for a small fee automatically transcribes your speech and generates burnt-on subtitles. The font, colours and style are customisable, so you can tweak the captions to suit your brand.
I use Rev.com for Closed Captions. Your video will be transcribed either by a freelancer (for a small fee) or automatically (for an even smaller fee). You can make any necessary adjustments, then export an SRT subtitle file. The SRT can be attached to your video when you upload it to YouTube, Facebook or LinkedIn. As I said, this solution doesn’t work on Instagram or Twitter yet.
Editing support
If you’re stuck on the editing side, or you just need a bit of professional polish, then please feel free to get in touch.
I’m currently offering fixed price editing packages for self-shot video content, starting at £119 – a much lower rate than normal, as I know everyone’s budgets are tight. I also train people on the editing apps and software I’ve mentioned, if that’s something that would be useful.
But if you just need to ask a bit of advice or chat through some ideas, that’s always free – just get in touch via the Studio 91 Media website.
Now go forth and have fun filming yourself!
Need some help?
If you need help with editing your videos to make sure they have a professional look and feel, please contact Ben Horrigan via the Studio 91 Media website.
